How to Install HP 85A Toner Cartridge in LaserJet P1102W Printer?
This article will be around the HP 85A CE285A toner cartridge, first V4ink teaches you how to install the HP 85A toner cartridge. After installing the toner cartridge, many users will face the same problem, that the printer will not recognize the newly installed toner cartridge. We will also analyze this issue.
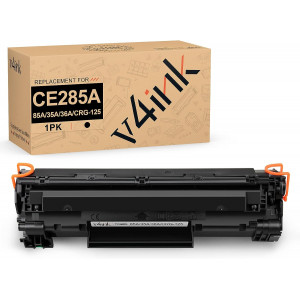
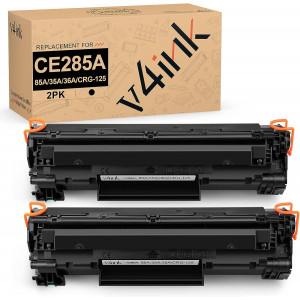
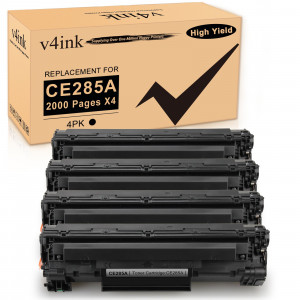
V4ink compatible HP CE285A/85A toner cartridge can yield up to 2,000 Pages at 5% Coverage (Letter/A4). At the same time, there are 1pk, 2pk and 4pk for you to choose, you can choose one according to your own printing needs. To be honest, the more you buy, the more you save, and you can use more coupons.
V4ink HP CE285A/85A toner cartridge is compatible with many printer models. We use the popular model HP LaserJet P1102W Printer as an example to introduce the installation method.
HP LaserJet P1120w is a fast-printing, compact monochrome laser printer under Hewlett Packard’s line of LaserJet printers. Designed to be a budget-friendly imaging solution to micro-offices and SMBs, the HP LaserJet P1120w can print up to 19 pages per minute and can able to print complex documents with in professional quality. This LaserJet printer is also popular for its HP Smart Install, eliminating the complexities of having to insert an installer disk on your driver and performing the whole initializing process before you can use it for printing.
How to Install HP 85A CE285A Toner Cartridge in HP LaserJet P1102W Printer?
Step1: Open the print cartridge door.
Step2: Insert the toner cartridge with the handle facing straight up. If the toner cartridge is properly set on its cartridge tray, you will hear a small click.
If you are replacing a new toner cartridge, remember to remove the sealing tape.
Step3: Close the print cartridge door.
When toner is low, faded or light areas appear on the printed page. Remove the cartridge from the device and gently rock it from front to back. You will be able to use it for a while.
There may be occasions when, you find the printer doesn't print after changing the cartridge. Maybe the following methods can help you.
Internal memory reset:
Your printer should automatically recognize when you install a new cartridge and reset its internal memory, ensuring that it’s displaying full toner levels etc. However, sometimes the printer just doesn’t do that correctly and believes that the old one, or no cartridge, is currently inserted instead.
Protective strips:
If you haven’t removed protective covers or plastic strips that are attached to a new cartridge when you first take it out of its packaging, the printer will definitely fail to register the new cartridge and this will cause you problems.
Dirty contacts:
The toner cartridge has a number of metal contacts that connect to similar metal contacts in the printer allowing them to communicate. Dirt or damage can prevent this.
If you want a more detailed introduction, here is a video for you.
Related Products
-
entry_color
-
2000 pagesentry_pageyield
-
text_freeentry_shipping
-
48 HRsentry_delivery
-
text_compatible_printersLBP 6018, i-SENSYS MF4410, i-SENSYS MF4430, i-SENSYS MF4570, Laserjet M1120 MFP, Laserjet M1120n MFP, LaserJet Pro M1130, LaserJet Pro M1134, LaserJet Pro M1137, LaserJet Pro M1138, LaserJet Pro M1139, Laserjet Pro M1214 NFH MFP, LaserJet Pro M1219, Laserjet M1522n MFP, Laserjet M1522nf MFP, LaserJet P1005, LaserJet P1006, LaserJet P1100, Laserjet Pro P1102, Laserjet Pro P1102w, LaserJet P1505, Laserjet P1505n, LaserJet Pro P1566, Laserjet P1606, Laserjet Pro M1132, LaserJet Pro M1212nf MFP, LaserJet Pro M1217nfw MFP, LaserJet Pro P1560, Laserjet Pro P1600, LaserJet Pro M1136, Laserjet Pro M1210 MFP, LaserJet P1002, LaserJet P1003, LaserJet P1004, LaserJet P1009, LBP 6000, LBP 3010, LBP 3018, LBP 3050, LBP 3100, LBP 3108, LBP 3150, LBP 6020, LBP 6030, LBP 3250, LaserJet P1007, LaserJet P1008, Laserjet M1522, LaserJet Pro M1218, LaserJet P1503, LaserJet P1504, i-Sensys MF4420 LBP 6200
-
entry_color
-
2000 Each pagesentry_pageyield
-
text_freeentry_shipping
-
48 HRsentry_delivery
-
text_compatible_printersLBP 6018, i-SENSYS MF4410, i-SENSYS MF4430, i-SENSYS MF4570, Laserjet M1120 MFP, Laserjet M1120n MFP, LaserJet Pro M1130, LaserJet Pro M1134, LaserJet Pro M1137, LaserJet Pro M1138, LaserJet Pro M1139, Laserjet Pro M1214 NFH MFP, LaserJet Pro M1219, Laserjet M1522n MFP, Laserjet M1522nf MFP, LaserJet P1005, LaserJet P1006, LaserJet P1100, Laserjet Pro P1102, Laserjet Pro P1102w, LaserJet P1505, Laserjet P1505n, LaserJet Pro P1566, Laserjet P1606, Laserjet Pro M1132, LaserJet Pro M1212nf MFP, LaserJet Pro M1217nfw MFP, LaserJet Pro P1560, Laserjet Pro P1600, LaserJet Pro M1136, Laserjet Pro M1210 MFP, LaserJet P1002, LaserJet P1003, LaserJet P1004, LaserJet P1009, LBP 6000, LBP 3010, LBP 3018, LBP 3050, LBP 3100, LBP 3108, LBP 3150, LBP 6020, LBP 6030, LBP 3250, LaserJet P1007, LaserJet P1008, Laserjet M1522, LaserJet Pro M1218, LaserJet P1503, LaserJet P1504, i-Sensys MF4420 LBP 6200


